- The Dardanelles Disaster
- Strategic Context
- The Landings (25 April 1915)
- Cape Helles
- ANZAC Cove
- The Campaign
- Trench Warfare at Helles
- The August Offensive
- The Evacuation (December 1915 – January 1916)
- British and ANZAC Forces
- Casualties
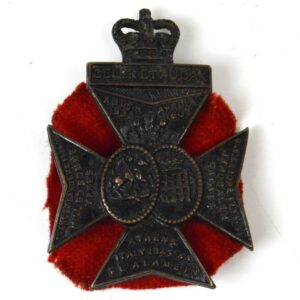
- Collecting Gallipoli Militaria
- Medals
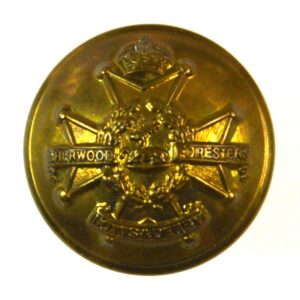
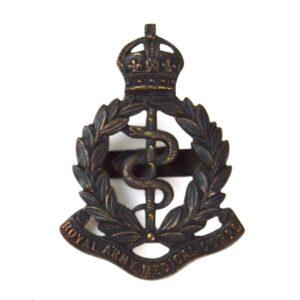
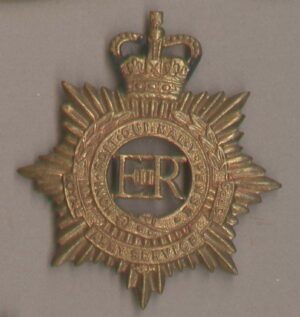
- Equipment and Personal Items
- ANZAC Items
The Dardanelles Disaster
The Gallipoli Campaign of 1915–1916 was one of the most ambitious and costly failures of the First World War. Conceived as a bold strategic stroke to knock Turkey out of the war, open a supply route to Russia, and break the deadlock of the Western Front, it instead became an eight-month ordeal of trench warfare under appalling conditions, ending in evacuation — the one phase of the operation that was brilliantly executed. Gallipoli forged the national identities of Australia and New Zealand and left a lasting mark on every unit that served there.
Strategic Context
By early 1915, the Western Front had congealed into the stalemate of trench warfare. Winston Churchill, as First Lord of the Admiralty, championed a naval operation to force the Dardanelles — the narrow strait linking the Mediterranean to Constantinople. The plan was to use naval power alone to knock Turkey out of the war and establish communications with Russia via the Black Sea.
The naval assault of 18 March 1915 failed when three Allied battleships were sunk and three more damaged by mines. The decision was then taken to land ground forces on the Gallipoli Peninsula to capture the heights overlooking the Narrows — a fundamentally different and far more demanding operation.
The Landings (25 April 1915)
Cape Helles
The 29th Division — a formation drawn from regular army battalions scattered across the Empire — landed at five beaches at the southern tip of the peninsula. At V Beach, the River Clyde, a converted collier, was run aground to disgorge troops through sally ports cut in her hull. The Turks, well-positioned and ably led, poured devastating fire into the landing troops. The 1st Royal Dublin Fusiliers and 1st Royal Munster Fusiliers suffered catastrophic casualties. Of the 200 men of the Dublins in the first wave, approximately 21 reached the beach unwounded.
At W Beach, the 1st Lancashire Fusiliers earned “six VCs before breakfast” (though actually recommended later) in an attack of extraordinary courage against barbed wire and machine guns. Other landings at X, S, and Y Beaches met varying opposition.
ANZAC Cove
The Australian and New Zealand Army Corps (ANZAC) landed further north at a cove that would bear their name forever. Landing in pre-dawn darkness, they found themselves not on the expected flat beach but at the base of steep, scrub-covered ridges. The Turks, commanded by a then-unknown lieutenant colonel named Mustafa Kemal (later Atatürk), counterattacked ferociously. The ANZACs clung to a tiny beachhead and began digging in. They would remain for eight months in conditions that beggar description — cliffs, heat, flies, disease, and constant Turkish fire.
The Campaign
Trench Warfare at Helles
The Cape Helles sector degenerated into trench warfare reminiscent of the Western Front, but in a confined space dominated by Turkish artillery observation from the heights of Achi Baba. Successive British attacks — the three battles of Krithia — gained little ground at enormous cost. The 42nd (East Lancashire) Division, the 52nd (Lowland) Division, the Royal Naval Division, and French forces all suffered heavily.
The August Offensive
A major new landing at Suvla Bay in August 1915, combined with a breakout attempt from ANZAC, was intended to break the deadlock. The Suvla landing, by the inexperienced 10th and 11th (New Army) Divisions under elderly and indecisive commanders, was a disastrous failure of leadership. Troops reached the beach virtually unopposed but then sat down and brewed tea while Turkish reinforcements arrived. The ANZAC breakout attempt included the assault on Chunuk Bair by New Zealand and Gurkha troops — one of the most dramatic episodes of the campaign — and the disastrous charge at The Nek by the Australian Light Horse.
The Evacuation (December 1915 – January 1916)
The decision to evacuate was the most controversial of the campaign, but its execution was flawless. Over 80,000 troops were withdrawn from ANZAC and Suvla in December 1915 and from Helles in January 1916, with minimal casualties. Ingenious deception measures — including self-firing rifles activated by water drips — kept the Turks unaware until the final moments.
British and ANZAC Forces
The forces at Gallipoli were diverse:
- 29th Division: Regular army battalions including the Lancashire Fusiliers, Royal Dublin Fusiliers, Royal Munster Fusiliers, Royal Inniskilling Fusiliers, and others.
- ANZAC: The 1st Australian Division and the New Zealand and Australian Division, later reinforced by the 2nd Australian Division.
- Royal Naval Division: Naval reservists and marines organised as infantry — including Rupert Brooke’s battalion (he died of sepsis before the landings).
- Territorial divisions: The 42nd, 52nd, and 53rd Divisions.
- New Army divisions: The 10th (Irish), 11th (Northern), and 13th (Western).
- Gurkhas: 1/6th Gurkha Rifles played a critical role in the August offensive.
- Indian Army: The 29th Indian Brigade served at Helles.
Casualties
Total Allied casualties at Gallipoli were approximately 250,000 killed, wounded, and sick. British casualties were approximately 115,000, Australian 26,000, New Zealand 7,500, French 47,000, and Indian 4,000. Turkish casualties were estimated at 250,000. Disease — particularly dysentery and enteric fever — caused more casualties than enemy action.
Collecting Gallipoli Militaria
Medals
The principal medal for Gallipoli service is the 1914–15 Star with the BWM and Victory Medal trio. There was no specific Gallipoli clasp or medal — a much-lamented gap that collectors identify through the naming and confirmed service records.
| Medal Type | Approximate Price Range (2026) |
|---|---|
| 1914–15 Star trio to infantry (common units) | £80–£150 |
| Trio to Lancashire Fusiliers (Gallipoli confirmed) | £150–£400 |
| Trio to Royal Dublin/Munster Fusiliers | £200–£500 |
| Trio to ANZAC units | £200–£600 |
| Trio with casualty (KIA at Gallipoli) | Premium of 100%+ |
| DCM or MC won at Gallipoli | £2,000–£8,000+ |
| VC for Gallipoli actions | £200,000+ |
Equipment and Personal Items
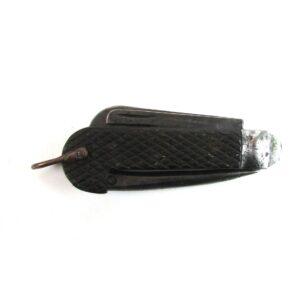
- Gallipoli trench art: Items fashioned from shell cases, bullets, and scrap metal by soldiers during the campaign. These folk-art items — ash trays, letter openers, lighters — represent daily life at Gallipoli.
- SMLE Mark III rifle: The standard infantry weapon. Gallipoli-specific examples are difficult to identify unless accompanied by documentation. £400–£1,500 for a good example.
- Webbing equipment: 1908 Pattern webbing from Gallipoli is rare — the conditions were so harsh that most equipment was worn out or abandoned during the evacuation.
ANZAC Items
Australian and New Zealand Gallipoli items are particularly prized due to the campaign’s enormous national significance. Rising Sun badges, ANZAC shoulder titles, and personal effects of Gallipoli diggers command strong prices both in the UK and, especially, in the Australasian market. An original “A” (for Australia) or “NZ” shoulder title confirmed to Gallipoli service carries significant added value.
Frequently Asked Questions
How do I identify a Gallipoli veteran's medals?
A 1914-15 Star trio to a unit that served at Gallipoli (e.g. Lancashire Fusiliers, Royal Dublin Fusiliers, ANZAC units) combined with the Medal Index Card theatre entry date for the Dardanelles confirms Gallipoli service.
What Gallipoli collectables are available?
WWI medal trios to confirmed Gallipoli units, cap badges, ANZAC slouch hat badges, trench art from the peninsula, postcards, and gallantry awards. ANZAC items (Australian and NZ) are particularly sought after.
Sources & References
- Carlyon, L., Gallipoli
- Hart, P., Gallipoli
- Travers, T., Gallipoli 1915

Related Items in Our Collection8 items